When preparing your artwork for print, it’s important to set up your Adobe InDesign file correctly from the very beginning. To do this we need to check page size, bleed,safe area and colour mode.
Step 1: Set the Correct Page Size
Setting up the page size in Adobe InDesign is extremely easy.
You can do this when you create a new document or anytime afterwards.
When you create a new document a popup will let you set the page size from one of the presets or any custom size. You can also set the orientation here.
Note: Also notice that if you click the ‘more options’ button you can also set the bleed on your document.
If your document is already open you can still change the size of your document.
Click FILE > DOCUMENT SETUP...
This will open a popup which will allow you to reset your document size and add bleed if necessary.
When you create a new document in Indesign you can set the size of your document. You can also add bleed at this stage by clicking the 'more options' button. We recommend 3mm of bleed.
Step 2: Add Bleed
This example displays how the bleed gets trimmed from a design. This technique stops us from getting any white edges at the edge of the finished print.
In InDesign it is extremely easy to add bleed to your document. (If you don’t know what bleed is or why you might need it, visit our dedicated page What Is Bleed and Why Do I Need It?)
Select FILE > DOCUMENT SETUP...
Now Click the button 'More Options'
Input 3mm of bleed in each of the boxes ‘Top’, ‘Bottom’, ‘Inside’ and ‘Outside’. NOTE: The lock button allows you to set all boxes to one size.
You now have a bleed area (it normally looks like a red box around the page edge). Well done! However, you should note that your bleed currently has nothing inside it. You now have to drag your image into that area to make use of it.
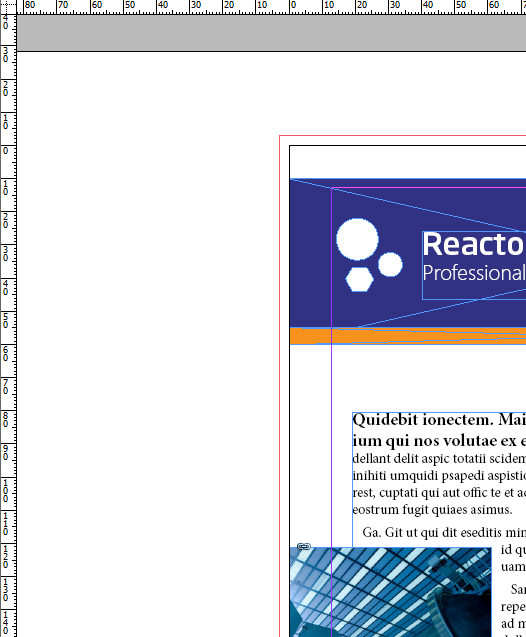
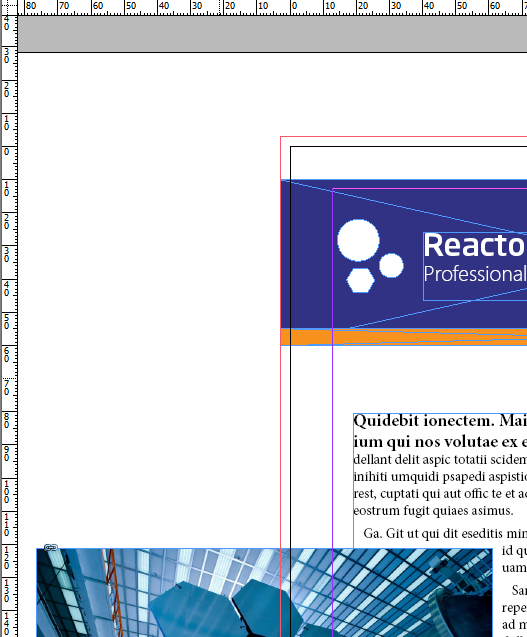
Spot the difference between these two attempts at adding bleed
In this example, the designer has not used their bleed area. As you can see, the red bleed area is empty. The designer needs to drag the objects that touch the edge of the page into the bleed area.
In this example, the bleed area has been correctly utilised because the objects that reach the edge of the page now extend into the bleed area.
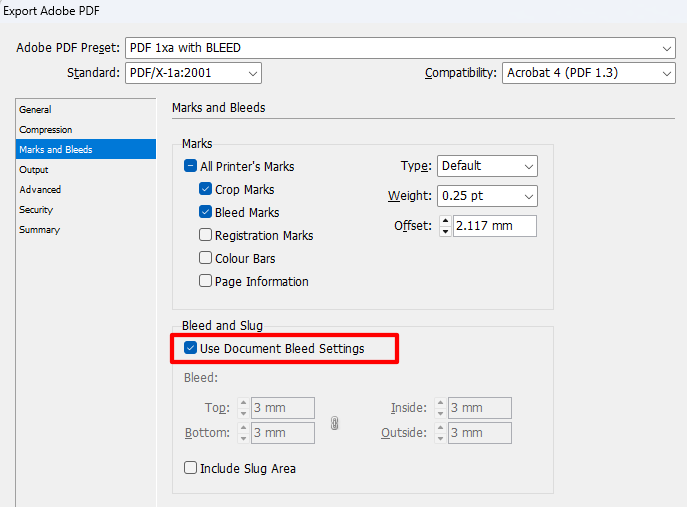
You must turn on bleed when you export your document to PDF
When you export your file to PDF, make sure you tick the button ‘Use Document Bleed Settings’, otherwise all your hard work to add bleed will not be included in your PDF.
You must check the 'Use Document Bleed Settings' button for the bleed to be applied to the PDF
Step 3: Check Your Safe Area
It’s really important that you move any text or important information away from the edge of the page so that it doesn’t get trimmed off.
All text should be at least 3mm away from the edge of the page.
If you want to see more detailed information about what Safe Area is and why it is important, see our dedicated page here
Safe area refers to anywhere on the page that is more than 3mm away from the edge of the page. Any text or important information left outside this safe area is in danger of being trimmed.
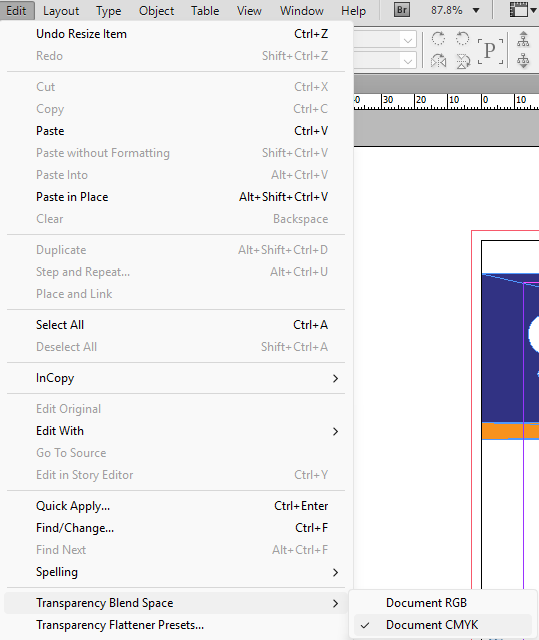
Step 4: Set the Colour Mode to CMYK
Any artwork which is designed to be printed should be converted to CMYK for best results.